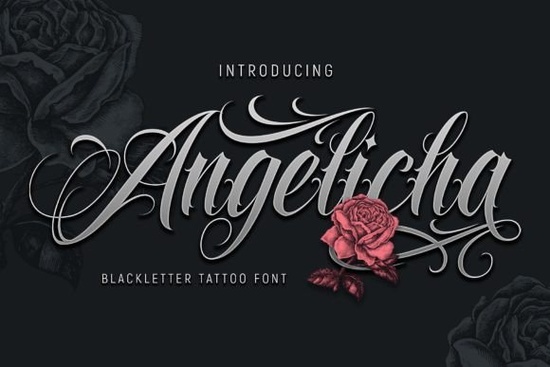
Finding the right typography for edgy or streetwear-inspired projects can be tricky. You need something that looks authentic without being completely unreadable. The Angelicha Font strikes a nice balance here. It is a contemporary blackletter tattoo font that works exceptionally well for logos, t-shirt graphics, and poster layouts. Whether you are running a print-on-demand shop or just designing a flyer for a local band, this typeface gives your work a bold, traditional ink feel while keeping the letterforms clean enough for modern audiences.
What makes a good tattoo-style typeface for merch?
When designing for apparel or physical products, readability is just as important as aesthetics. A highly ornate gothic style might look great on a screen, but it often turns into a muddy blob when printed on a textured canvas tote or a dark heather-grey t-shirt. This specific typeface solves that problem by keeping the core structure of the letters relatively simple. The sharp angles and thick strokes hold up well during the screen printing process. Ink naturally spreads slightly when it hits cotton or polyester blends, so a typeface with generous negative space inside the letterforms will prevent the design from looking muddy after a few washes.
If your store needs more variety for different client briefs, exploring other rough-edged display styles can help you build a larger, more versatile design library. Having a few different options on hand means you can easily switch up the vibe from clean and modern to distressed and vintage without buying a new asset every time.
How do you pair heavy gothic letters with other styles?
Blackletter fonts carry a lot of visual weight. Because the strokes are thick and the details are dense, they demand attention. The best way to use them is by creating a strong contrast with your secondary text.
Choosing the right supporting typography
Never pair two heavy display fonts together. Instead, use a very clean, minimalist sans-serif for your subheadings, body copy, or taglines. This gives the eye a place to rest. Sometimes you might want to layer the main text with a more traditional gothic typeface to create a complex, layered logo mark, but this requires careful spacing and sizing to avoid visual clutter.
For most branding projects, letting the primary typeface stand alone in a large size is the most effective approach. If you need to add emphasis to specific words in a headline, look for heavy-weight gothic letters that share a similar x-height but offer a slightly different structural rhythm.
Where does this style work best in brand identity?
While it is heavily associated with tattoo parlors, motorcycle clubs, and streetwear, this style of typography is actually quite versatile. Small businesses in the craft brewing, specialty coffee, and artisan barbering spaces frequently use this aesthetic to convey a sense of heritage and craftsmanship. Merchandise like enamel pins, embroidered patches, and die-cut stickers also benefit greatly from this bold aesthetic, as the thick lines translate perfectly into physical materials.
When building a brand identity, you can use the complete character set to design a striking primary logo. From there, you can pull individual letters or flourishes to create custom monograms, social media watermarks, or packaging stickers. The key is to use it sparingly. A little bit of this style goes a long way in establishing a rugged, premium brand voice.
How do you prepare these files for professional printing?
Before sending your final designs to a commercial printer or uploading them to a print-on-demand platform, you need to make sure the files are set up correctly. Blackletter fonts often have tight kerning and intricate overlapping strokes that can cause issues if not handled properly.
- Outline your text: Always convert your text to vector outlines or shapes before exporting. This prevents the printer's software from substituting the font if they do not have it installed on their system.
- Check the contrast: Print a test page on your home printer. If the dark strokes bleed into each other on standard paper, they will likely blur on a commercial press. Adjust the tracking slightly if needed.
- Mind the bleed area: If your typography extends to the edge of a poster or flyer, ensure you have a proper bleed margin set up in your design software to avoid harsh white borders after trimming.
Final design checklist
Before you finalize your next project, run through this quick checklist to ensure your typography looks professional and prints without any unexpected errors:
- Verify that all text is converted to outlines or flattened properly.
- Ensure the color profile is set to CMYK for physical printing.
- Check that the background contrast is high enough for the thick strokes to remain legible.
- Proofread all spelling carefully, as editing outlined text is incredibly difficult.
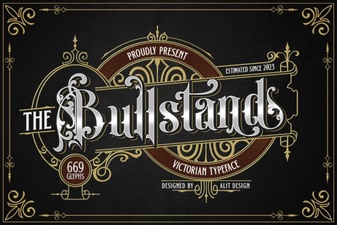 Bull Stand Font Design Ideas & Download
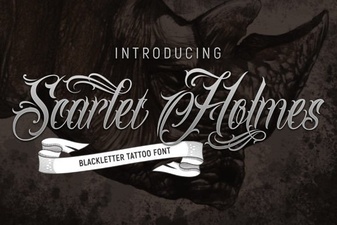 Scarlet Holmes Font for Elegant Web Designs
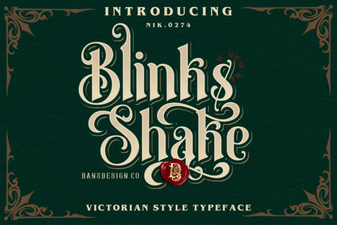 Crafting Dynamic Text with Blinks Shake Font
 Designing with a Classic Teacher Chalk Font
 Design with Elegant Butterfly Font Projects
 Boho Samantha Font: Styles, Tips & Projects