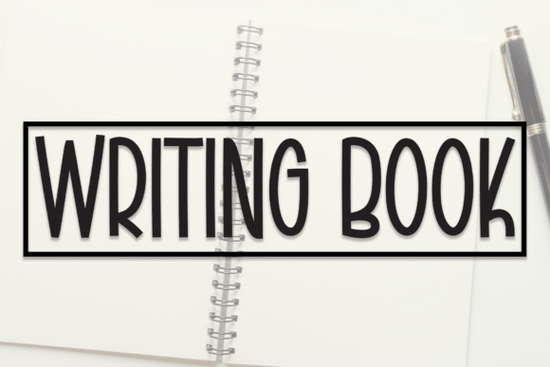
Finding the right lettering style for a new project often means balancing readability with a personal touch. When you need a natural, handwritten look without sacrificing clarity, the Writing Book Font is a highly practical choice. It offers a clean, organic feel that works beautifully across various mediums, from physical crafts to digital branding. Whether you are designing wedding stationery or creating product labels for a small business, this typeface provides the authentic handwritten taste that customers and clients appreciate.
What makes a good handwritten typeface for crafting and branding?
Designers and small business owners need letters that remain legible when scaled up for wall displays or scaled down for product packaging. A reliable script should have consistent stroke weights and natural letterforms that do not look overly distorted. This specific style excels in providing a neat, approachable aesthetic that feels personal but remains easy to read at smaller sizes.
Versatility is another major factor to consider. If you are working on educational materials, children's books, or kids' products, you might also explore options like this cursive handwriting tracing bundle to complement your main design elements and create cohesive learning materials for young students.
How can you use this lettering style in print-on-demand and stationery?
Print-on-demand sellers rely on versatile assets that can adapt to different merchandise. This lettering style is excellent for applying to ceramic mugs, cotton t-shirts, and canvas tote bags. Because the strokes are clean, it translates well to vinyl cutting machines like Cricut or Silhouette, reducing the risk of tearing or weeding issues during the physical production process.
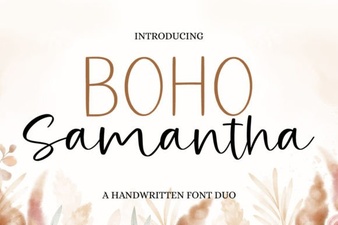
For stationery and event design, the applications are just as broad. When designing bohemian-style wedding invitations or rustic event signage, blending it with a relaxed boho script adds wonderful visual contrast between headings and body text. Similarly, for a softer, more playful approach to baby apparel or nursery decor, pairing it with a gentle baby-themed lettering style helps build a unified, endearing product collection.
Which design tools and settings work best for script lettering?
Getting the most out of any handwritten typeface requires adjusting your software settings. In programs like Adobe Illustrator or Affinity Designer, pay close attention to kerning and tracking. Handwritten letters often need slight manual adjustments to ensure the connections between characters look natural and seamless on the final page.
If your project requires a slightly more structured or industrial edge, you might want to test how it looks next to an edgy stencil typeface for a striking mixed-media effect on posters or album covers. Alternatively, for cute, lighthearted greeting cards or party supplies, mixing it with a bouncy, playful script keeps the overall mood fun and approachable for the end user.
Tips for working with watermarks and photography
Photographers and digital artists frequently use handwritten styles for watermarks and social media logos. To keep your images looking professional, reduce the opacity of the text to around 30% and use a subtle drop shadow. This ensures your branding is visible without distracting from the main subject of your photograph. Always remember to keep your watermark away from the focal point of the image.
What should you check before exporting your final design?
Before you send your files to the printer or upload them to your online store, run through a quick quality control process to avoid costly mistakes.
- Outline your text: Always convert your fonts to outlines or curves in your vector software so the lettering does not change if the printer lacks the specific file.
- Check the contrast: Ensure the text color stands out clearly against the background, especially for product labels and advertisements.
- Test the scale: Print a physical draft at the actual size to verify that the thinnest strokes of the script will print clearly without breaking.
- Review the spelling: Double-check all names, dates, and details, particularly on custom wedding invitations and personalized stationery.
- Verify the bleed area: If your design goes to the edge of the page, make sure you have included the proper bleed margins for commercial printing.
Taking a few extra minutes to review these practical details will save you time and ensure your final products look polished and professional.
 Boho Samantha Font: Styles, Tips & Projects
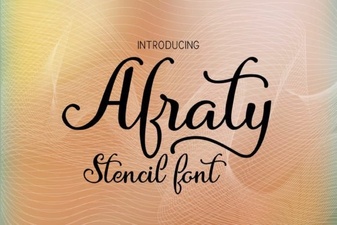 Afraty Stencil Font for Graphic Design Projects
 Design with Creative Monoline Boho Fonts
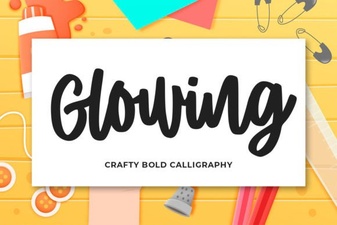 Designing Beautiful Glowing Text Effects
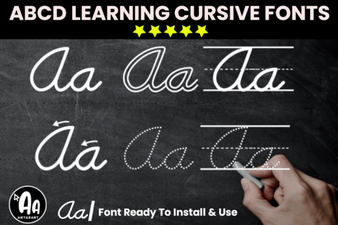 Modern Abcd Cursive Tracing Bundle Font Collection
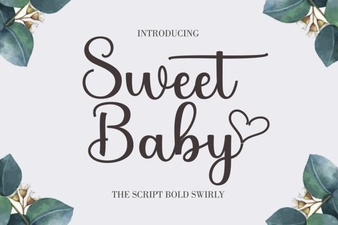 Sweet Baby Font: Design Tips & Download Links