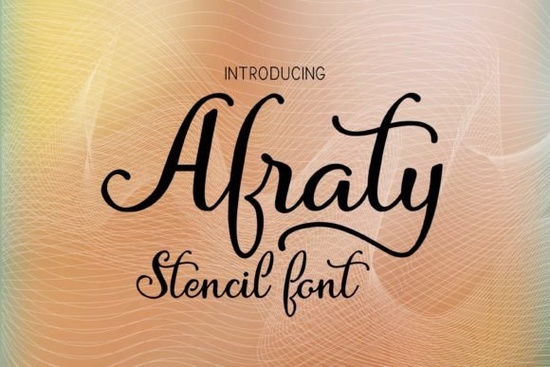
Finding the right typeface for physical cutouts can be frustrating for crafters and small business owners. Standard cursive fonts often leave the inner parts of letters like 'o', 'e', and 'a' falling out when you cut them with a vinyl plotter or craft knife. The Afraty Stencil Font solves this exact problem. It is a modern script with a handmade calligraphy feel, but every character is intentionally designed without closed loops. This means the inner spaces remain connected to the main body of the letter, making it incredibly practical for physical crafting, signage, and cutout projects.
Why do stencil fonts need open loops?
When you cut a standard cursive letter, the enclosed negative space creates an island. If you are painting through a physical stencil on wood or canvas, that island blocks the paint, leaving a blank spot in the middle of your letter. If you are cutting adhesive vinyl for a car decal or a tumbler, the inner piece simply falls into the trash when you weed the material, ruining the readability of the word.
By keeping the paths open, this typeface ensures that every part of the letter stays attached to the main stroke. This structural choice is essential for print-on-demand sellers making physical signs, crafters creating custom apparel, and hobbyists painting home decor. The handwritten aesthetic remains completely intact, but the physical integrity of the cutout is preserved from start to finish.
What projects work best with a handwritten stencil style?
This lettering style is highly versatile for both commercial and personal crafts. It works beautifully for rustic wedding welcome signs, custom pantry jar labels, and boutique packaging. If you are designing wedding invitations or event signage, you might want to pair this stencil style with other handwritten options to create a clear visual hierarchy on the page.
For example, you could use the main stencil design for the couple's names and complement it with lettering that has a countryside feel for the dates and venue details. If your project requires a more traditional flowing script for digital-only elements like a wedding website, a classic elegant alternative might be a better fit for the fine print and body text.
Crafters who work with pen plotters often look for single-line plotting styles to save ink and time, but for vinyl decals and painted wood, a solid stencil is absolutely necessary. For children's apparel or nursery decor, you might prefer something playful and lighthearted instead of a formal calligraphy look. You can explore more details about this specific stencil typeface to see if it matches your current project needs and aesthetic preferences.
How do you cut and apply stencil lettering without breaking the letters?
Even with an open-loop design, script fonts have thin connecting lines that can easily tear during the weeding and application process. Handling delicate vinyl requires a bit of patience and the right technique. When removing the excess material, always pull the negative space away from the design at a sharp angle rather than pulling it straight up, which can snap thin tails.
Using high-quality transfer tape is non-negotiable for delicate scripts. Apply the tape smoothly over the weeded design, burnish it firmly with a scraper tool, and let it sit for a few minutes before peeling the backing off. This allows the adhesive to grip the thin strokes securely. For more detailed techniques on handling delicate cuts, you can review official guides on weeding your vinyl projects to ensure a clean, professional finish.
When applying the decal to your final surface, use the hinge method. Tape the transfer paper to your surface, peel the backing away while keeping the design anchored, and squeegee it down from the center outward. This prevents the thin script tails from folding over and sticking to themselves, which is a common mistake for beginners.
Checklist for perfect stencil application
Before you start your next cutout project, run through this quick checklist to ensure your lettering applies cleanly and lasts a long time:
- Check your blade depth: Ensure your cutting machine is only slicing through the vinyl and not scoring the backing paper, which makes weeding much harder and can tear thin lines.
- Use a light grip mat: A standard grip mat can sometimes tear delicate script tails when you remove the finished cut from the machine bed.
- Wait before peeling: After applying the transfer tape, wait five to ten minutes before removing the vinyl backing to let the adhesive properly set.
- Peel at an angle: Remove the transfer tape at a 180-degree angle, flat against the surface, rather than pulling it straight up, which can lift thin letter strokes.
- Prep your surface: Wipe down wood, glass, or plastic with isopropyl alcohol and let it dry completely before applying your decal to ensure maximum adhesion.
 Boho Samantha Font: Styles, Tips & Projects
 Design with Creative Monoline Boho Fonts
 Designing Beautiful Glowing Text Effects
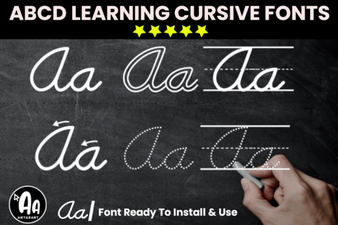 Modern Abcd Cursive Tracing Bundle Font Collection
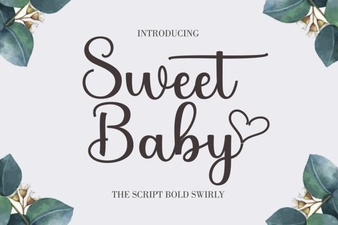 Sweet Baby Font: Design Tips & Download Links
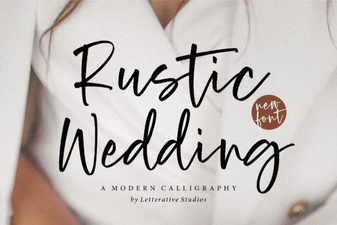 Rustic Fonts for Authentic Wedding Designs